PREPARATION
The hardest part is in the preparation
and the finished product is only as good as the preparation.
Step 1
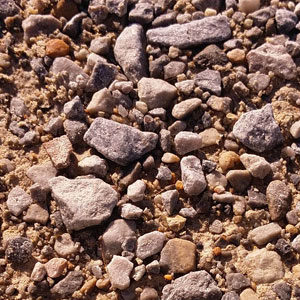
Make sure area has been stripped – do not place sod on top of existing vegetation. Remove debris such as rocks and stones.
STEP 2
Roughly grade the entire area to eliminate drainage problems by sloping the grade away
from building foundations and filling low-lying areas.
STEP 3
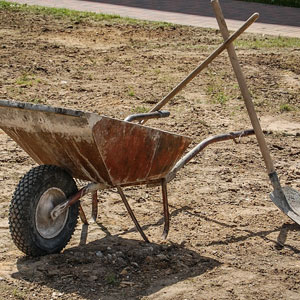
- Till the existing soil top a minimum depth of at least 2 inches before adding any topsoil.
- Add 4-6 inches of quality topsoil.
Note: Our sod is roughly 1 - 1 1/2 inches in depth.
STEP 4
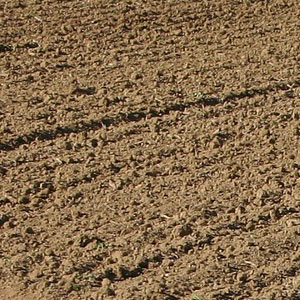
- Lightly tamp or roll the topsoil to settle the surface and create an ideal surface for installing the sod. Surface should be firm but not packed hard.
- To help with leveling, rolling the area with a lawn roller 1/3 full works well.
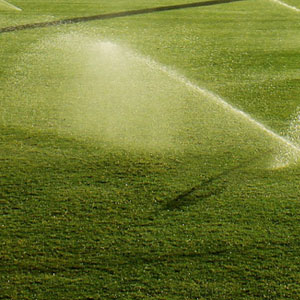
- Install underground sprinkler system (if desired).
STEP 5
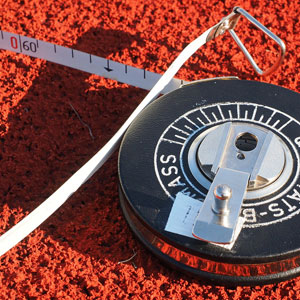
- Measure your area. View our measuring guide.
- Order necessary amount of sod and schedule delivery or pick up for the day you plan to lay your sod.
IMPORTANT: It is imperative to install your sod on the same day you receive it. Sod is a living plant that requires immediate water, nutrients and air to live and establish itself.
STEP 1
Make sure area has been stripped – do not place sod on top of existing vegetation. Remove debris such as rocks and stones.

STEP 2
Roughly grade the entire area to eliminate drainage problems by sloping the grade away
from building foundations and filling low-lying areas.

STEP 3
- Till the existing soil top a minimum depth of at least 2 inches before adding any topsoil.
- Add 4-6 inches of quality topsoil.
Note: Our sod is roughly 1 - 1 1/2 inches in depth.

STEP 4
- Lightly tamp or roll the topsoil to settle the surface and create an ideal surface for installing the sod. Surface should be firm but not packed hard.
- To help with leveling, rolling the area with a lawn roller 1/3 full works well.
- Install underground sprinkler system (if desired).

STEP 5
- Measure your area. View our measuring guide.
- Order necessary amount of sod and schedule delivery or pick up for the day you plan to lay your sod.
IMPORTANT: It is imperative to install your sod on the same day you receive it. Sod is a living plant that requires immediate water, nutrients and air to live and establish itself.

HOW TO GUIDES
MEASURING

INSTALLATION

MAINTENANCE